Changing Sizes of Each Area
In most xmh windows, close to the right-hand side of each
border (horizontal line), there's a small solid square,
a grip. A grip moves a border and changes the size of one
or more areas without changing the size of the whole xmh
window. This is useful if, say, you want to stretch the Table of
Contents to see a lot of messages. How about some practice?
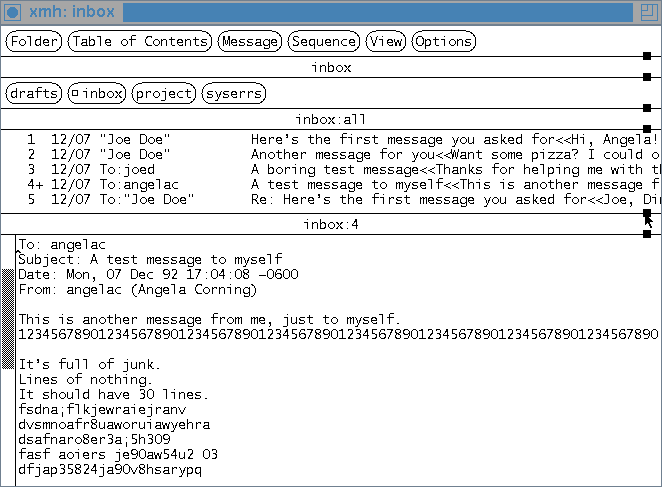
See the next Figure.
Figure: Master xmh window before using
grips to change sizes

Here's a list of what the mouse buttons do
when you point to a grip:
- Button 1
-
Adjusts the size of the area above the border.
xmh will adjust the areas below the border to compensate.
- Button 2
-
Moves only the border that the grip is on. Because xmh
won't let you make areas larger or smaller than a certain size,
this button usually doesn't help much.
- Button 3
-
Adjusts the size of the area below the border.
xmh will change areas above the border to compensate.
In the Figure below, the Table of Contents
could be shortened a little to show more of the viewed message
area. Point to the grip on the border between the Table of
Contents and the message. (In the Figure
above, this is the border just above the
title inbox:4.) Hold down Button 1 on your mouse and drag
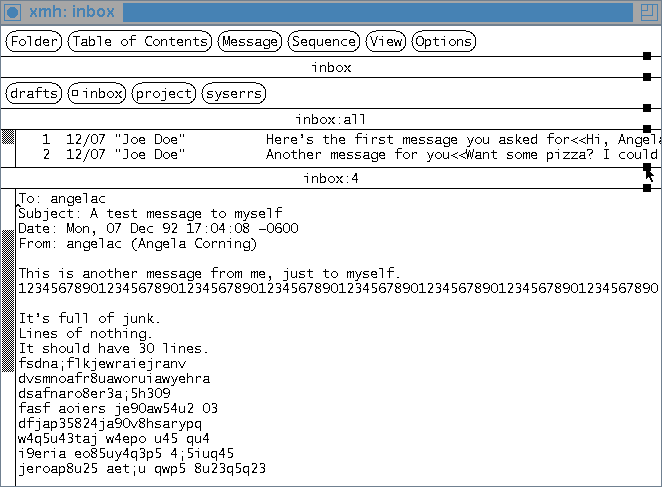
the border up. See how the message window gets bigger, while the
areas above the border adjust to make up for it? Because the Table
of Contents area got too small to show all of its lines, it has a
scrollbar now, too. After you've adjusted that grip, your window
should look something like the Figure
below.
Figure: Master xmh window after increasing
viewed message area

When you adjust a grip, xmh will try to adjust all of the
areas in the window but it won't let you make any area too small.
In this case, the area it shrank was the Table of Contents. Try
adjusting other grips, too, if you'd like. You can change the
default size of an area with the tocPercentage resource;
the Table xmh Resources has a
summary.


